Digital Nomad Visas: Complete Document Verification & Authentication Guide
The rise of remote work has sparked a global movement: countries around the world now offer Digital Nomad Visas (DNVs) to attract location-independent professionals, freelancers, and entrepreneurs. Destinations like Spain, Portugal, Costa Rica, Greece, and Dubai allow remote workers to legally reside in paradise while maintaining overseas income.
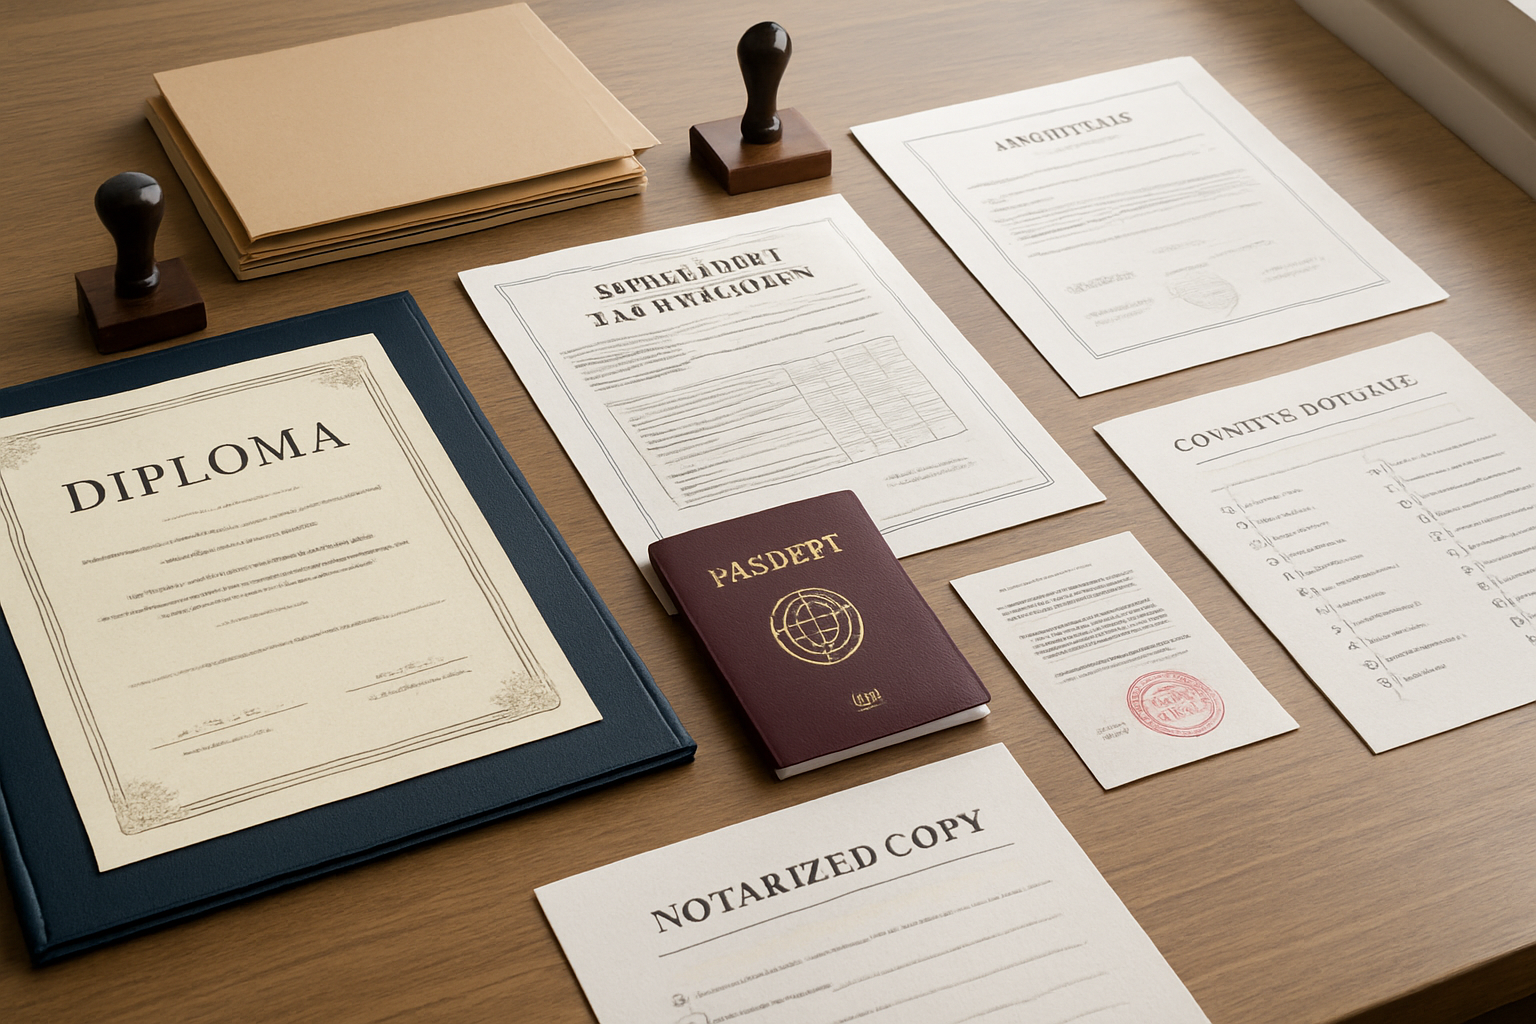
However, moving abroad is more than just packing a laptop. To qualify for a Digital Nomad Visa, government immigration authorities require official proof of your identity, employment, income, and clean background. Because foreign offices cannot automatically verify U.S. or other foreign documents, your paperwork must undergo formal Document Verification and Legal Authentication (Apostille or Embassy Legalization).
1. Key Documents Required for Digital Nomad Visas
While specific requirements vary by country, almost all Digital Nomad Visa applications require a core set of verified personal and financial records:
Core Required Documents
-
FBI Background Check / Criminal History Record: Most nations require a clean national background check issued within the last 3 to 6 months.
-
Proof of Income & Remote Employment: Employment contracts, client service agreements, business registration documents (for freelancers/business owners), or bank statements showing recurring monthly threshold income.
-
Vital Statistics Records: Birth certificates (and marriage certificates if applying with dependents/spouses).
-
Proof of Health Insurance: Comprehensive international medical coverage policy.
-
Academic Degrees / Professional Certificates: Some countries (e.g., Spain) require proof of higher education or specialized work experience.
2. Apostille vs. Embassy Legalization: How Authentication Works
Before submitting your documents to a foreign consulate or immigration portal, foreign officers must verify that your records are genuine. How this works depends on whether your target country belongs to the 1961 Hague Apostille Convention.
Option A: The Hague Apostille Process (Most Common)
If both your home country and destination country are Hague Convention members (e.g., U.S. remote workers moving to Spain, Portugal, Croatia, or Costa Rica), your documents require an Apostille.
-
State-Issued Documents (Birth certificates, local police records, state business filings): Must be apostilled by the Secretary of State in the state where the document originated.
-
Federal Documents (FBI background checks, federal tax returns): Must be apostilled by the U.S. Department of State’s Office of Authentications in Washington, D.C.
Option B: Embassy Legalization (Non-Hague Countries)
If moving to a non-Hague nation (e.g., UAE/Dubai, Thailand, Qatar), documents must undergo Chain Legalization:
-
Local Notarization (if applicable).
-
State Secretary of State Authentication.
-
U.S. Department of State Authentication.
-
Final Legalization at the destination country’s Embassy or Consulate in the U.S.
3. Step-by-Step Document Preparation Workflow
To avoid delays or visa rejections, follow this chronological workflow when preparing your Digital Nomad Visa document packet:
[1. Request Certified Records] ➔ [2. Complete FBI Background Check] ➔ [3. Notarize Private Documents] ➔ [4. Obtain Apostille / Legalization] ➔ [5. Certified Translation]
Step 1: Order Fresh, Official Copies
Foreign consulates rarely accept outdated records. Order certified long-form copies of vital statistics and official business records issued within 90 to 180 days of your visa appointment.
Step 2: FBI Identification Record Check
For U.S. citizens and residents, state police checks are often rejected in favor of an FBI Identity History Summary Check.
-
Tip: Request an electronic PDF version through an FBI Channeler or directly via the FBI portal to speed up the Federal Apostille process.
Step 3: Notarization of Private Financial Records
Contracts, bank letters, and self-employed affidavits are private documents. To make them eligible for an apostille, you must sign them in front of a commissioned Notary Public who will execute a proper acknowledgment or jurat block.
Step 4: Obtain Apostilles
Submit state records to the issuing Secretary of State and federal records (FBI check) to the U.S. Department of State.
Step 5: Certified Sworn Translation
If moving to a non-English speaking country, the entire document—including the Apostille certificate—must be translated into the destination country’s official language by an accredited or sworn translator (Traductor Jurado).
4. Common Pitfalls That Cause Visa Delays
-
Submitting Expired Background Checks: FBI background checks typically expire 3 to 6 months after issuance. Align your apostille request with your consulate appointment date.
-
Apostilling at the Wrong Office: Sending a California birth certificate to the Federal Department of State (or vice versa) will result in immediate rejection.
-
Using Uncertified Translators: Many European consulates require translations from officially recognized sworn translators registered with their Ministry of Foreign Affairs.
-
Mismatched Names: Ensure all names match your passport exactly across bank statements, background checks, and employment contracts.
Quick Reference Checklist
| Document Type | Primary Issuing Body | Authentication Authority |
| FBI Background Check | FBI / Criminal Justice Information Services | U.S. Department of State |
| State Birth/Marriage Certificate | County Registrar / State Dept. of Health | Issuing State Secretary of State |
| Employment / Bank Letters | Employer / Financial Institution (Notarized) | Local State Secretary of State |
| University Diploma | Registrar’s Office (Notarized Copy) | State Secretary of State |